G2 Replace End Effector
Recommended Reading
‼️Safety Precautions
- Never disassemble, adjust, or repair the device while the robot is operating or powered on, to prevent damage or safety hazards.
- Always work on a clean, dry, well-lit, and ESD-protected workbench.
- Power off the robot before any disassembly or assembly operation.
- Use insulated tools and wear appropriate PPE: anti-static wrist strap, safety glasses, and cut-resistant/insulating gloves.
- Visit the AgiBot official website for full product terms and policies.
- Comply with all applicable local laws and regulations. Do not modify or operate the robot in any hazardous manner.
Tools required
| # | Tool | Spec |
|---|---|---|
| 1 | Hex Key | H1.5, H2.0, H2.5, H3.0, H4.0, H5.0 |
| 2 | Wire Harness | 1.25mm Pitch, 6-pin |
| 3 | Flange Adapter | depending on the endeffector |
Remove the omnipicker
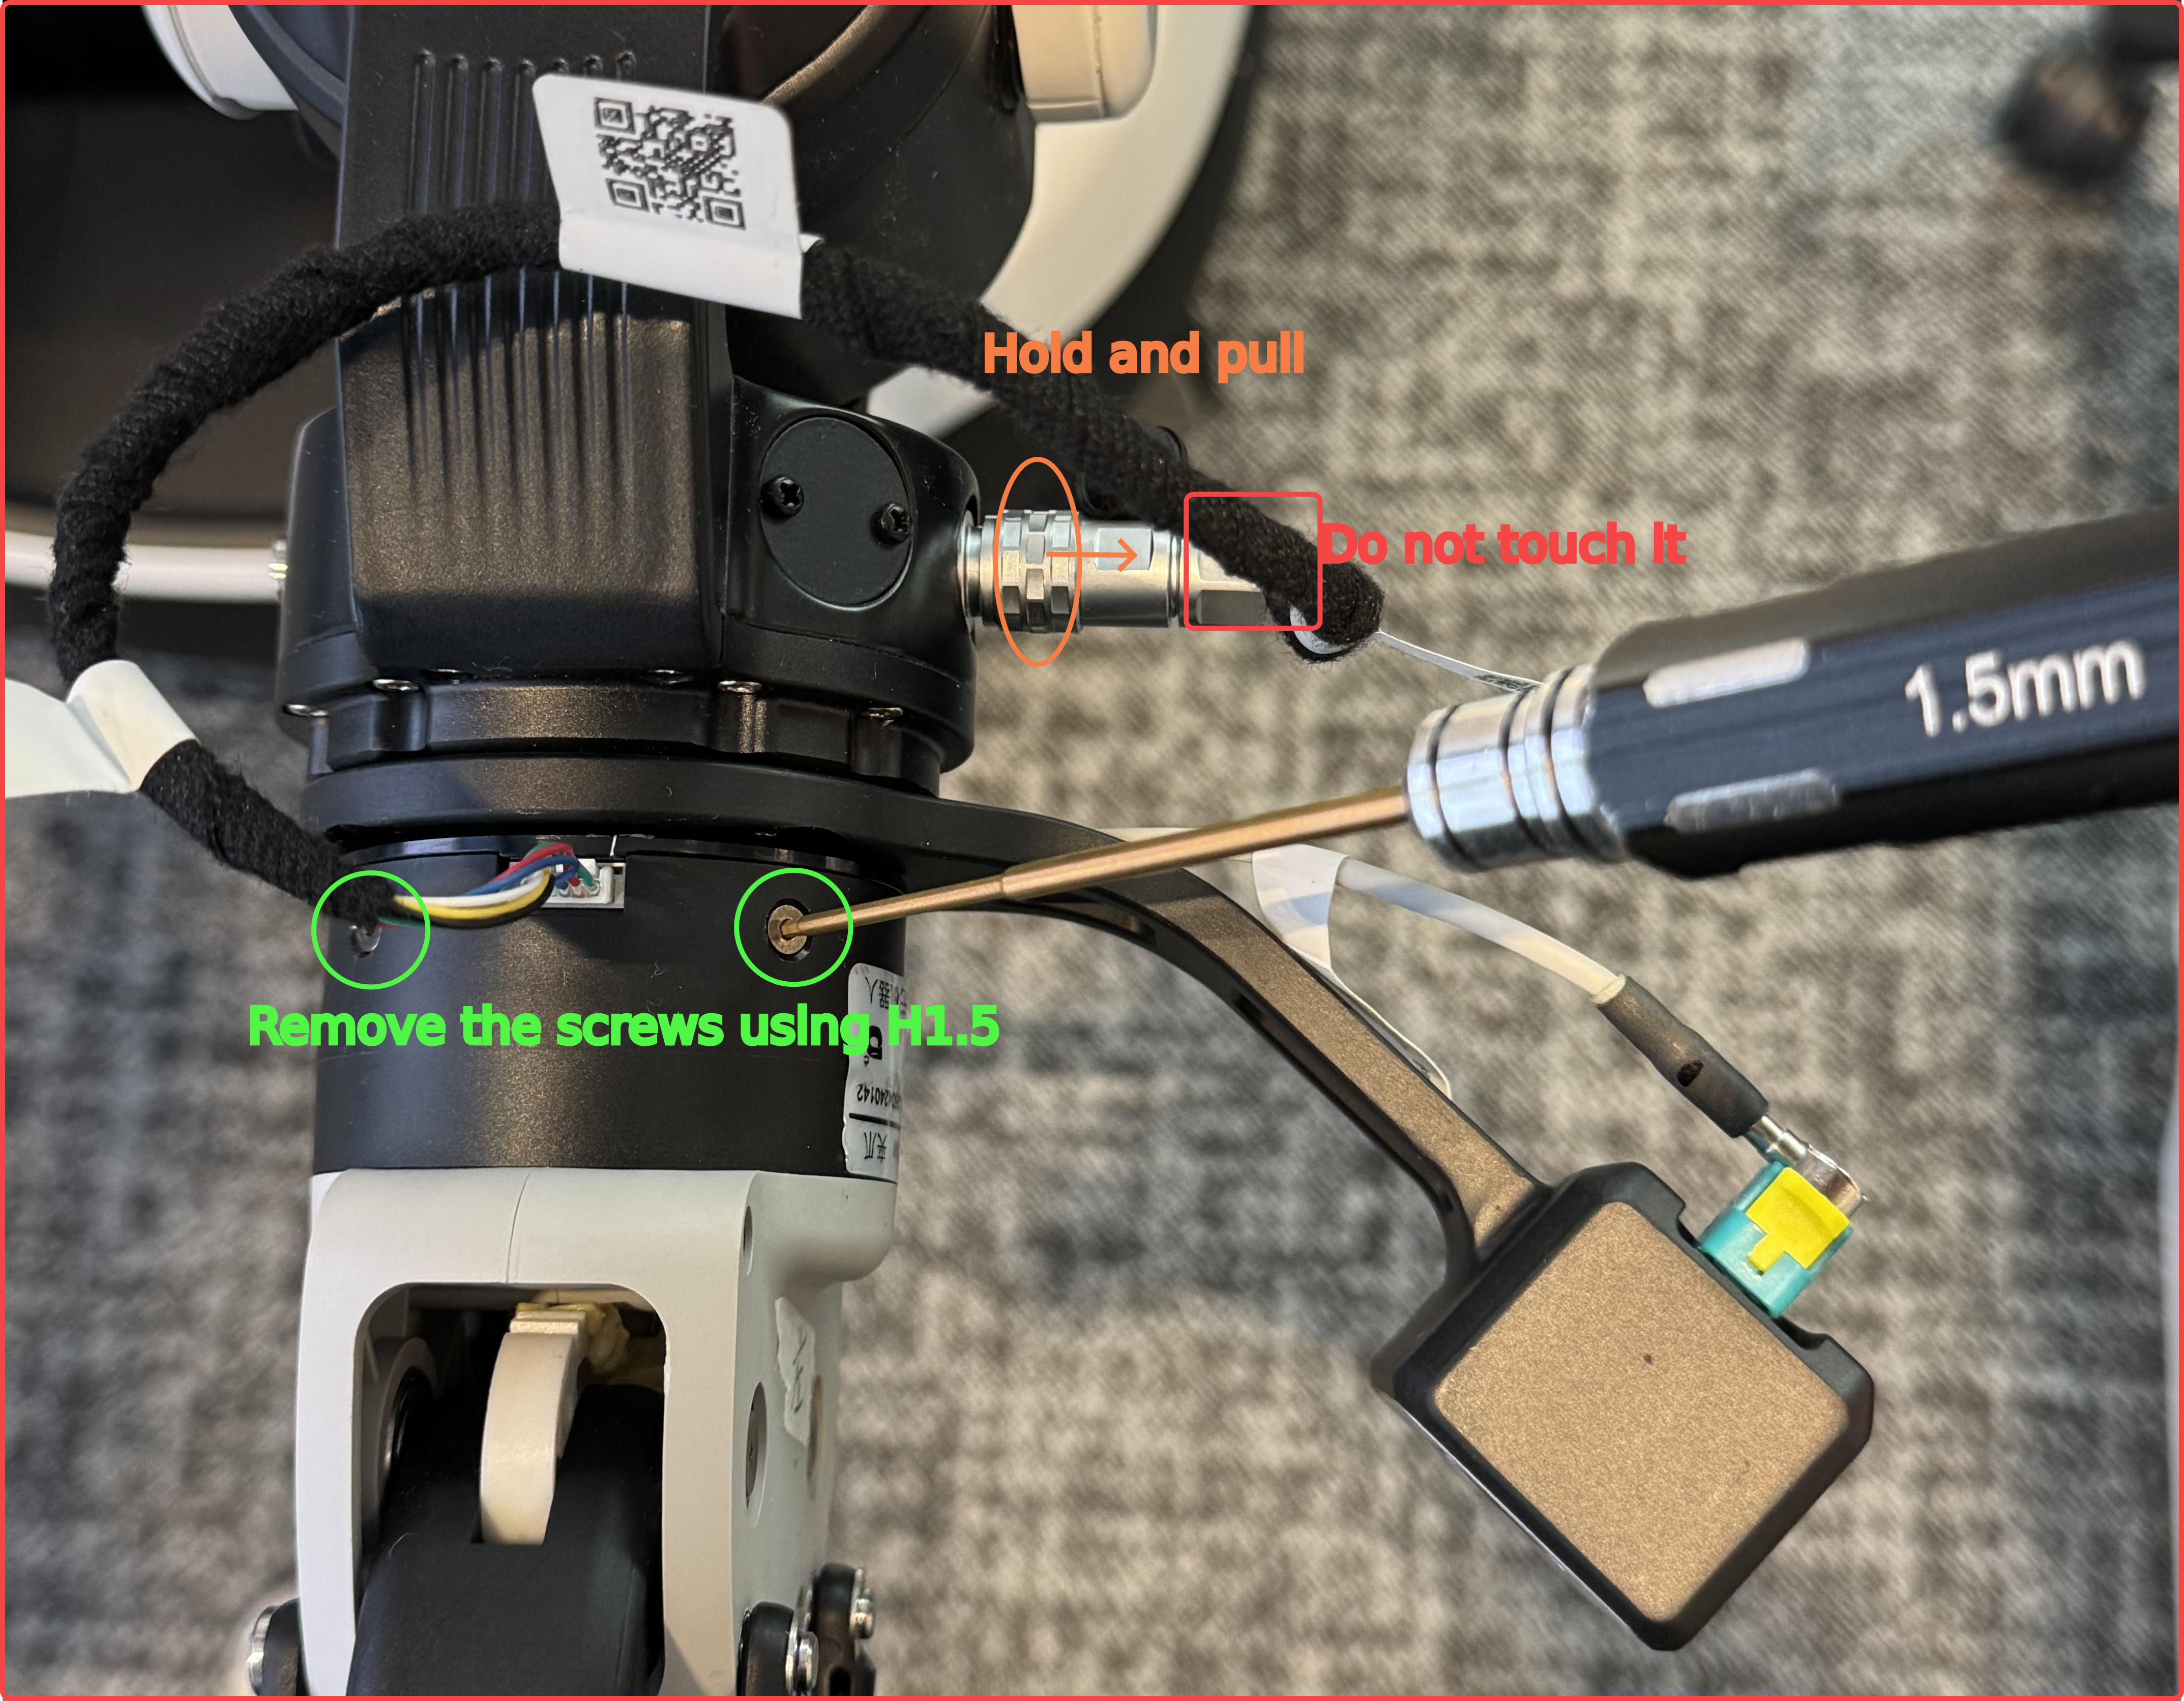
Firstly remove wire harness,hold and pull the head( brown circle in the following picture) and the Use H1.5 Hex key to remove the four screws on the omnipicker. Keep the screws, omnipicker and wire harness carefully
Remove camera cable
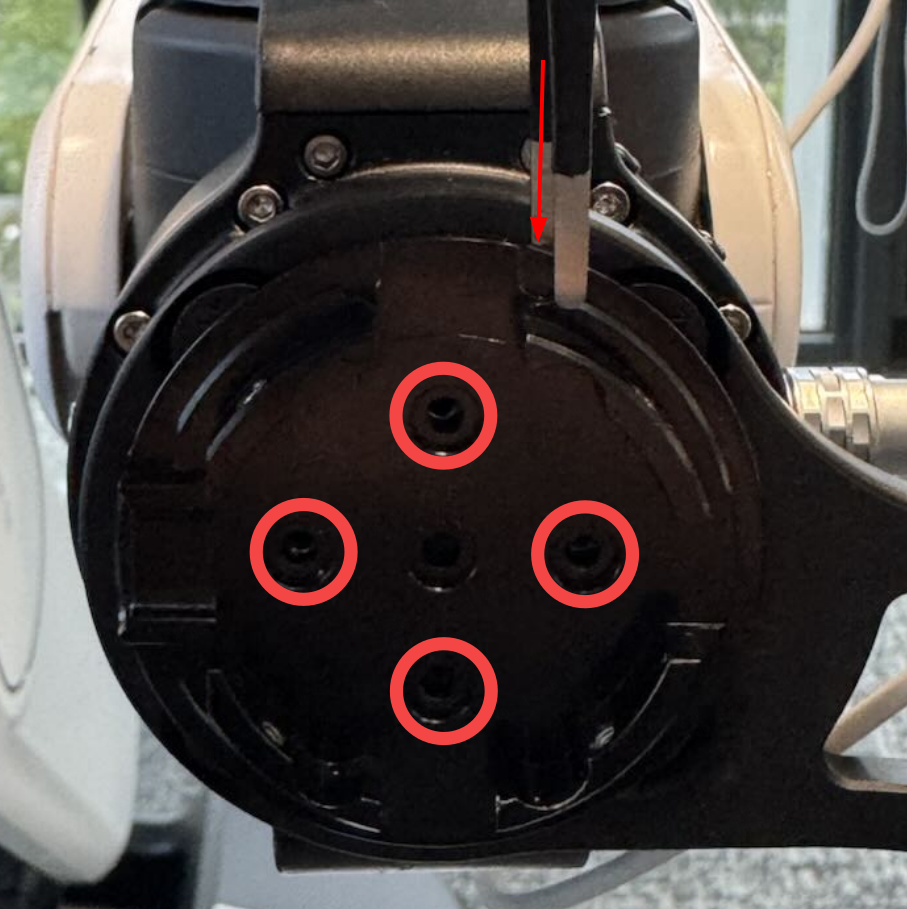
Four M2.5 × 10 screws are used to fix the converter to the flange. After removing them, then you can use a flat-head screwdriver to gently pry it up for removal.
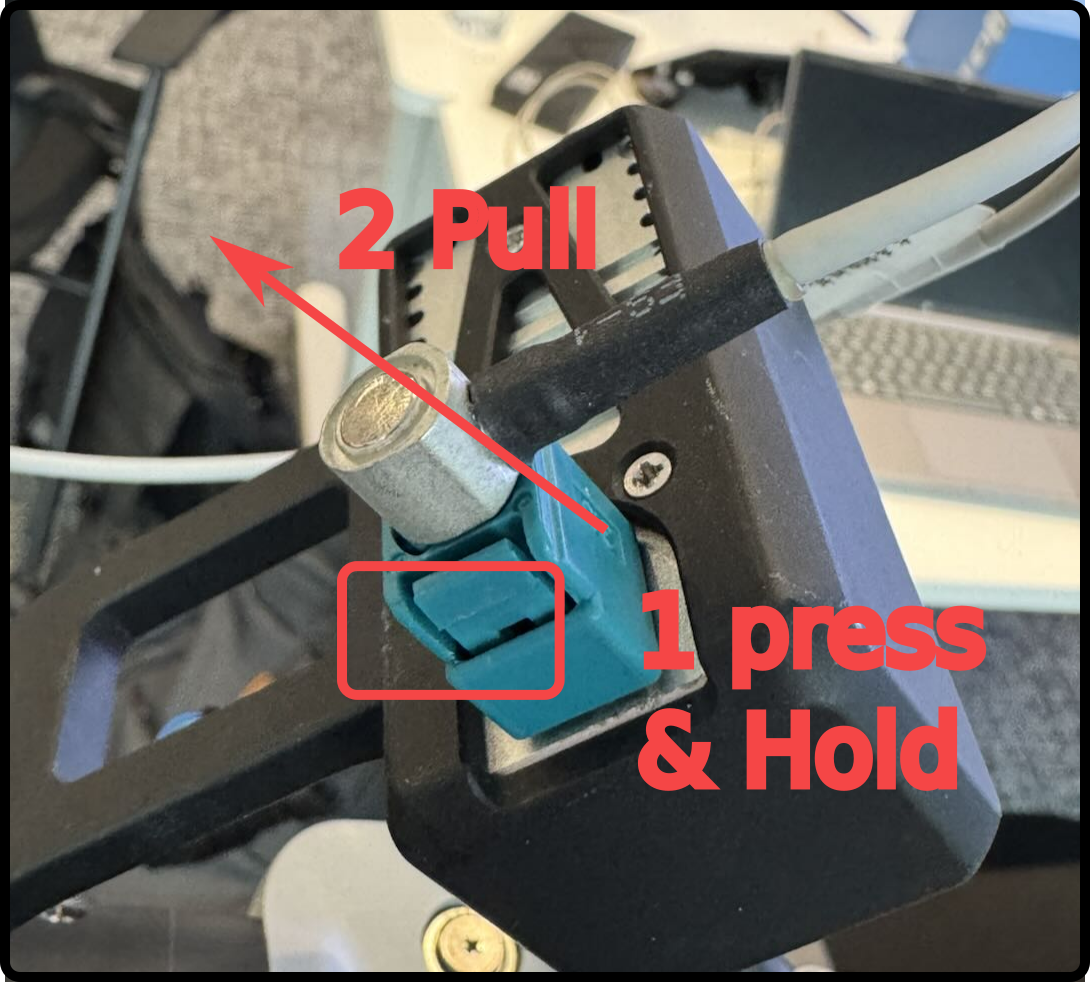
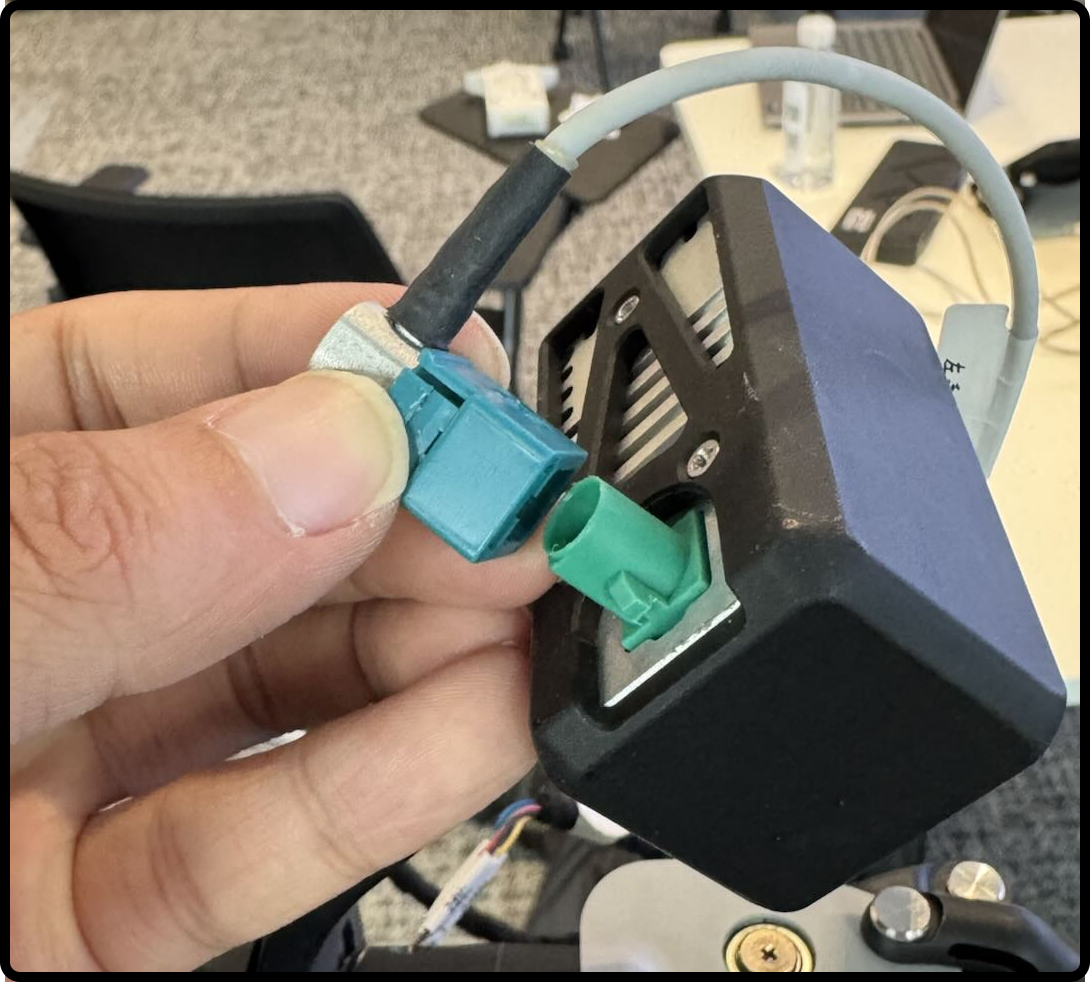
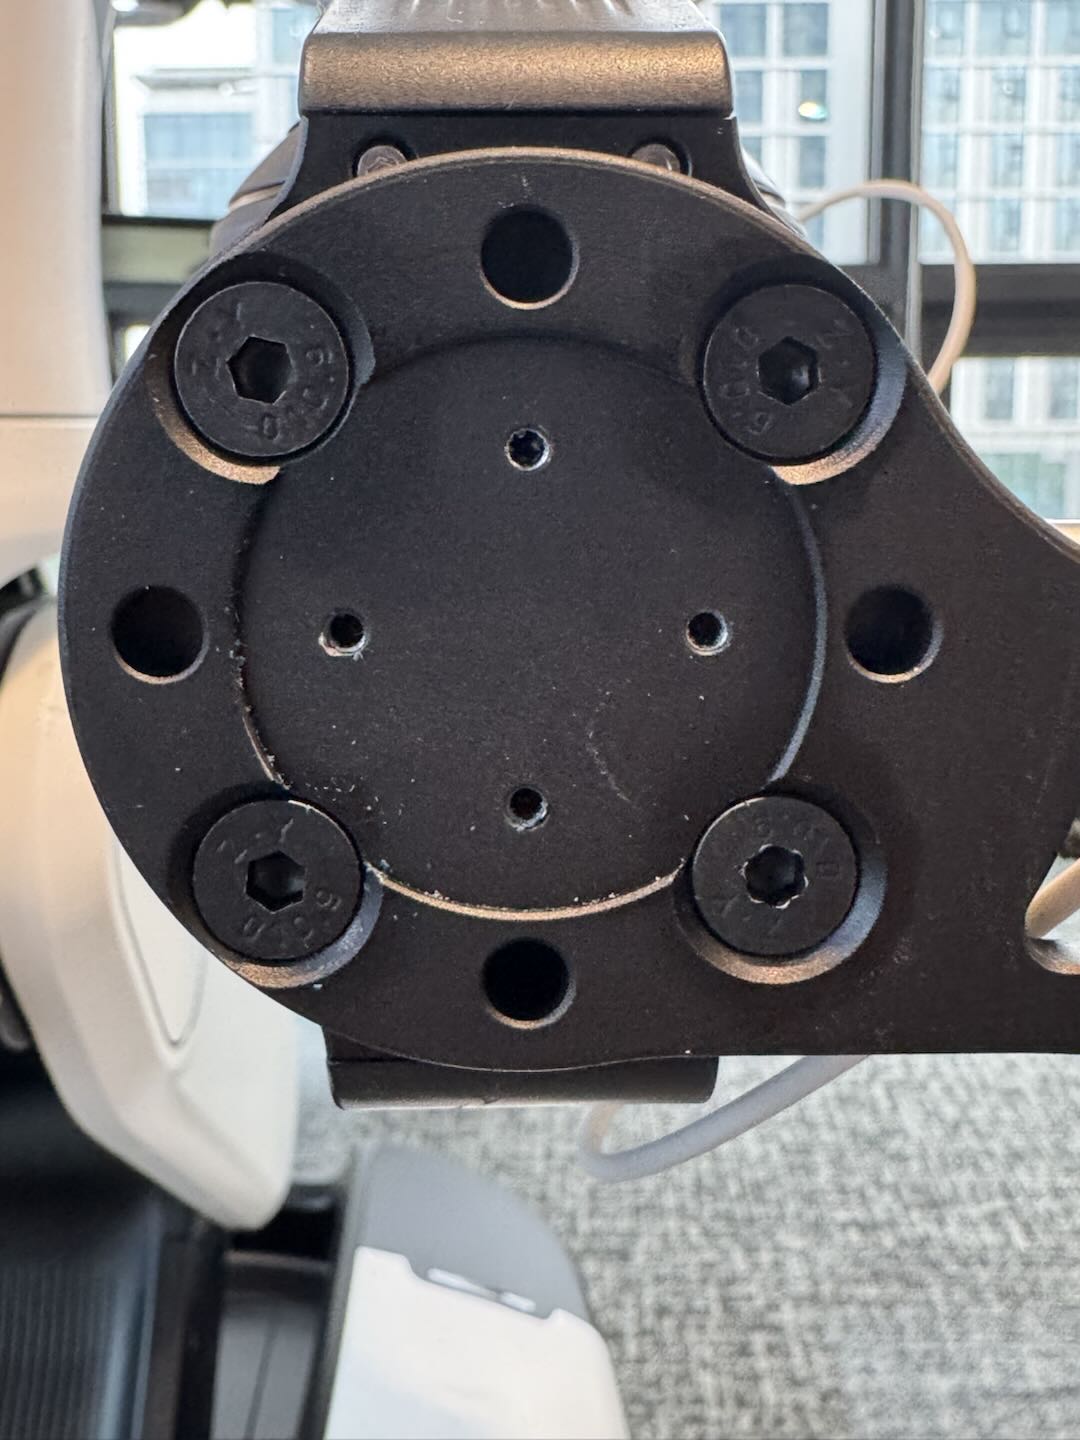
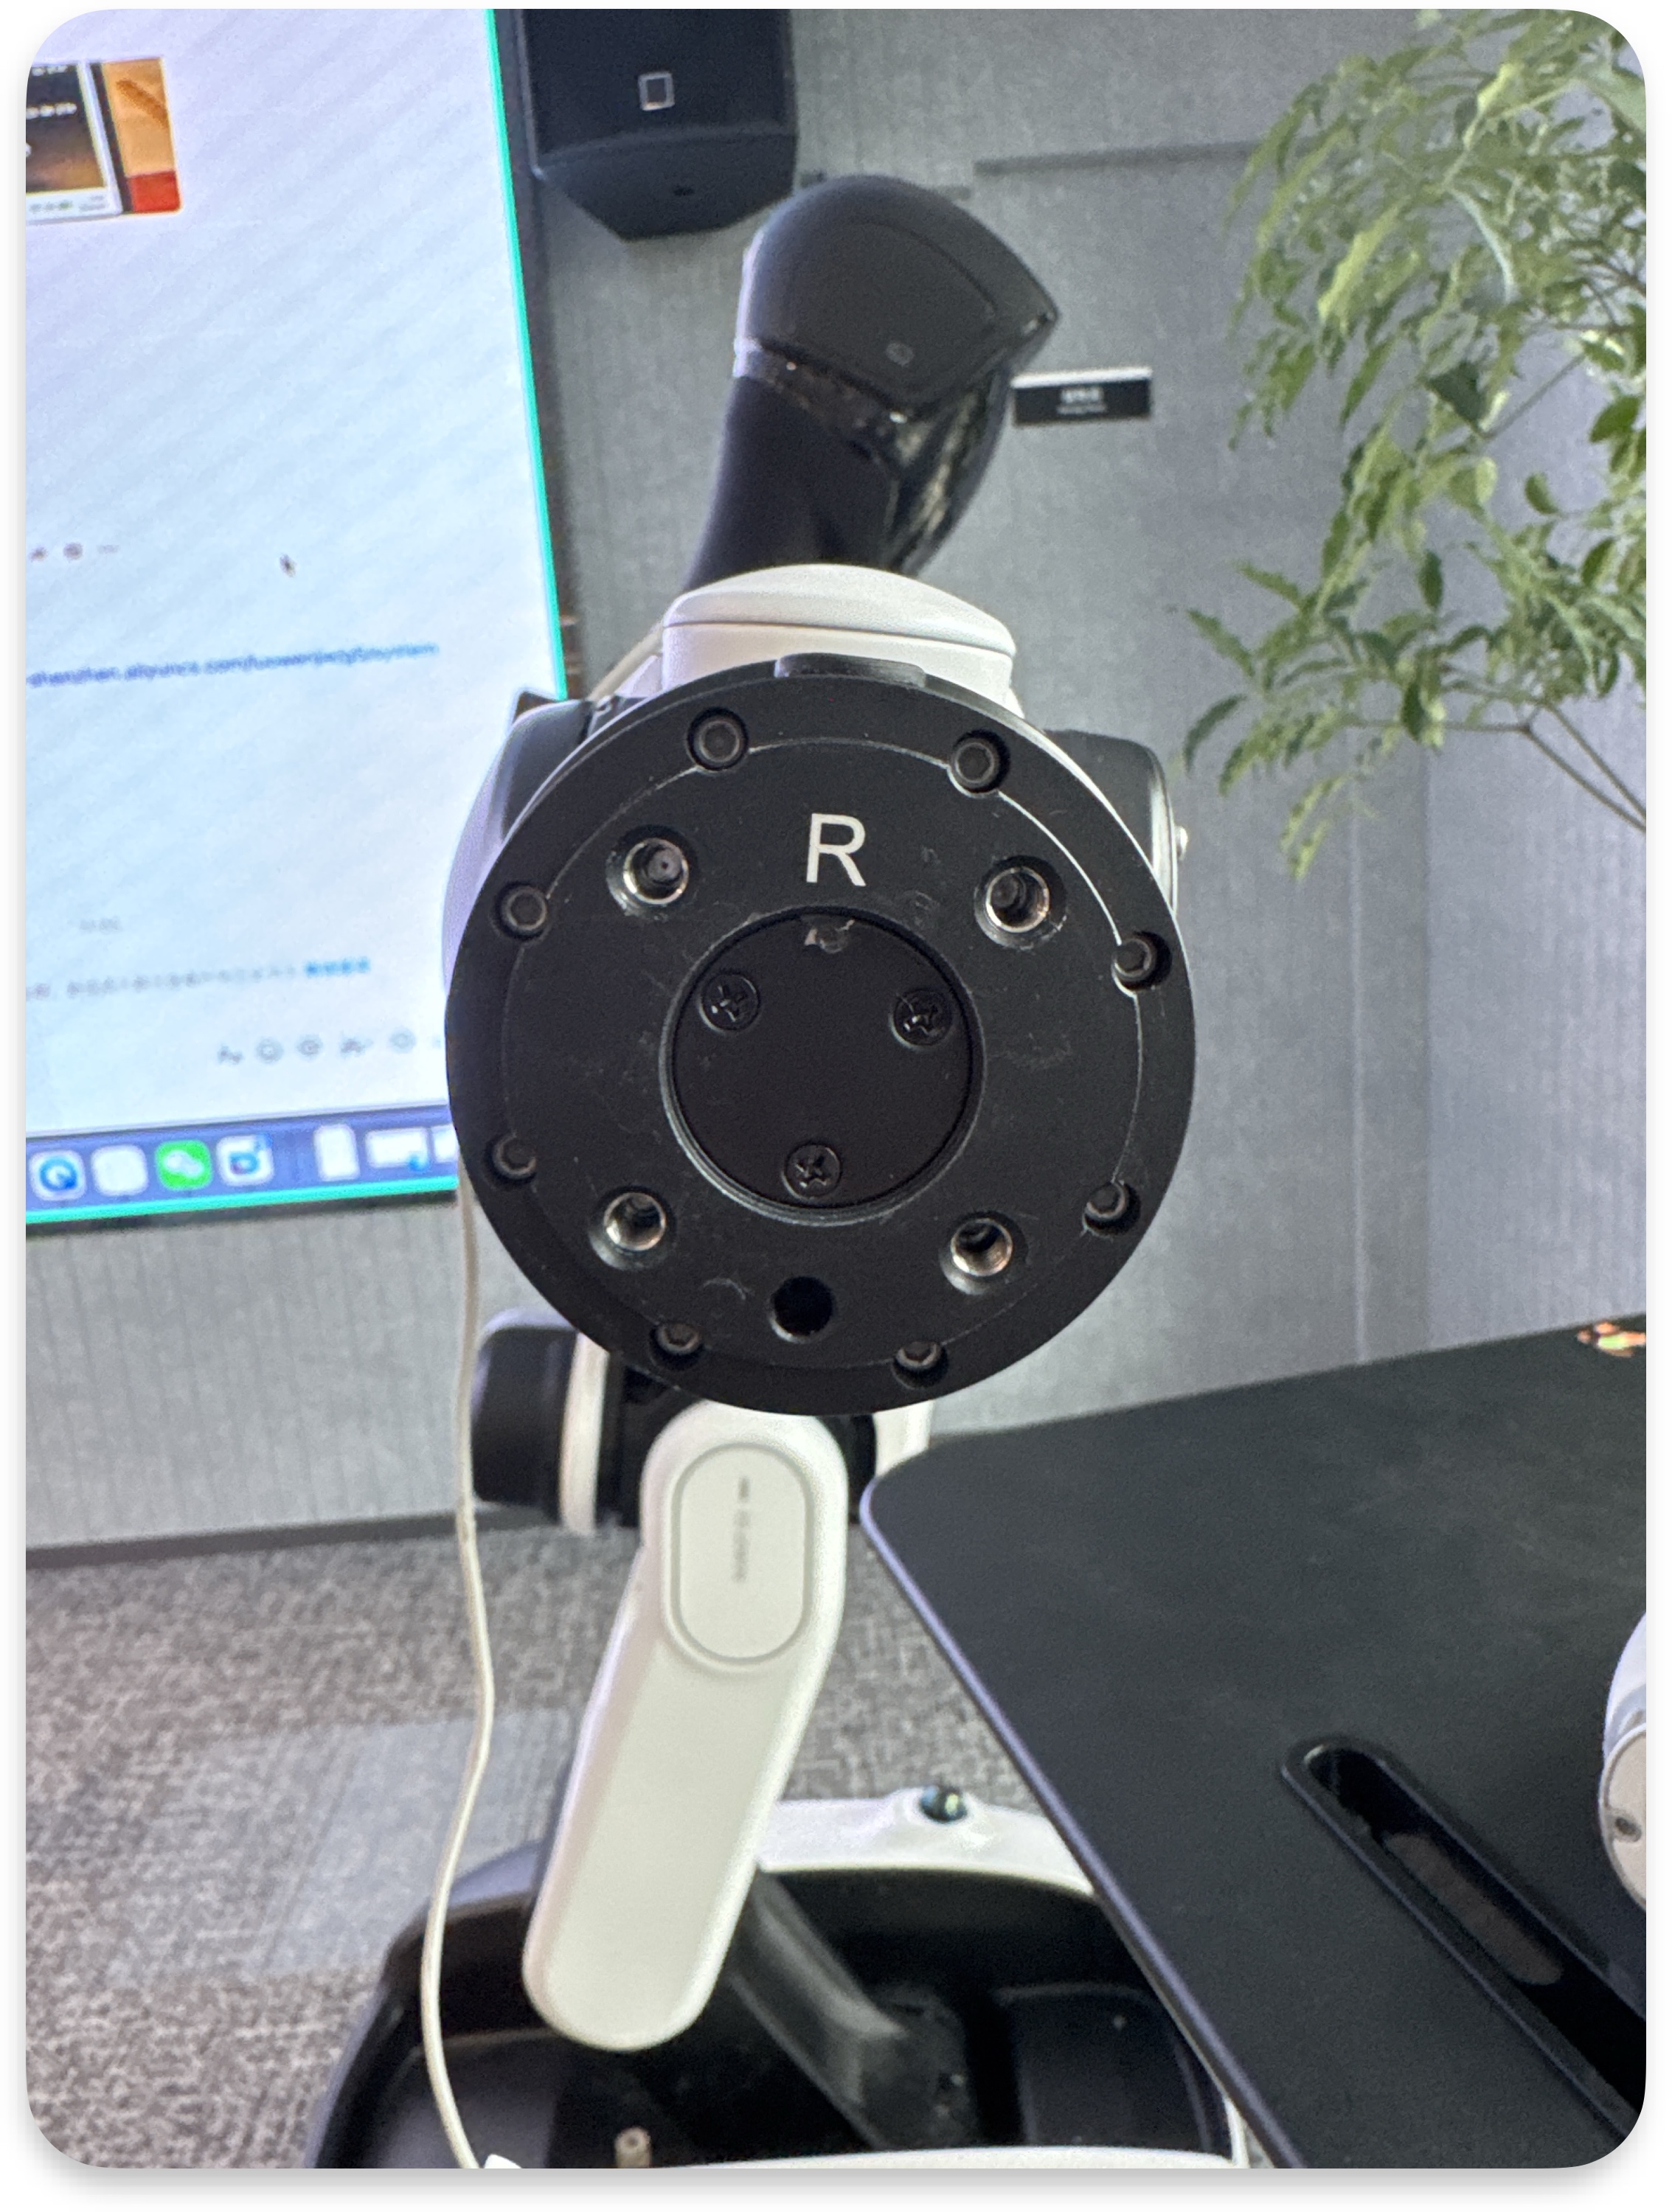
Carefully remove the camera cable. Then you can remove the flange adapter using the H4.0 Hex key.
Remove flange adapter
Plugin the new cables and flange adapter
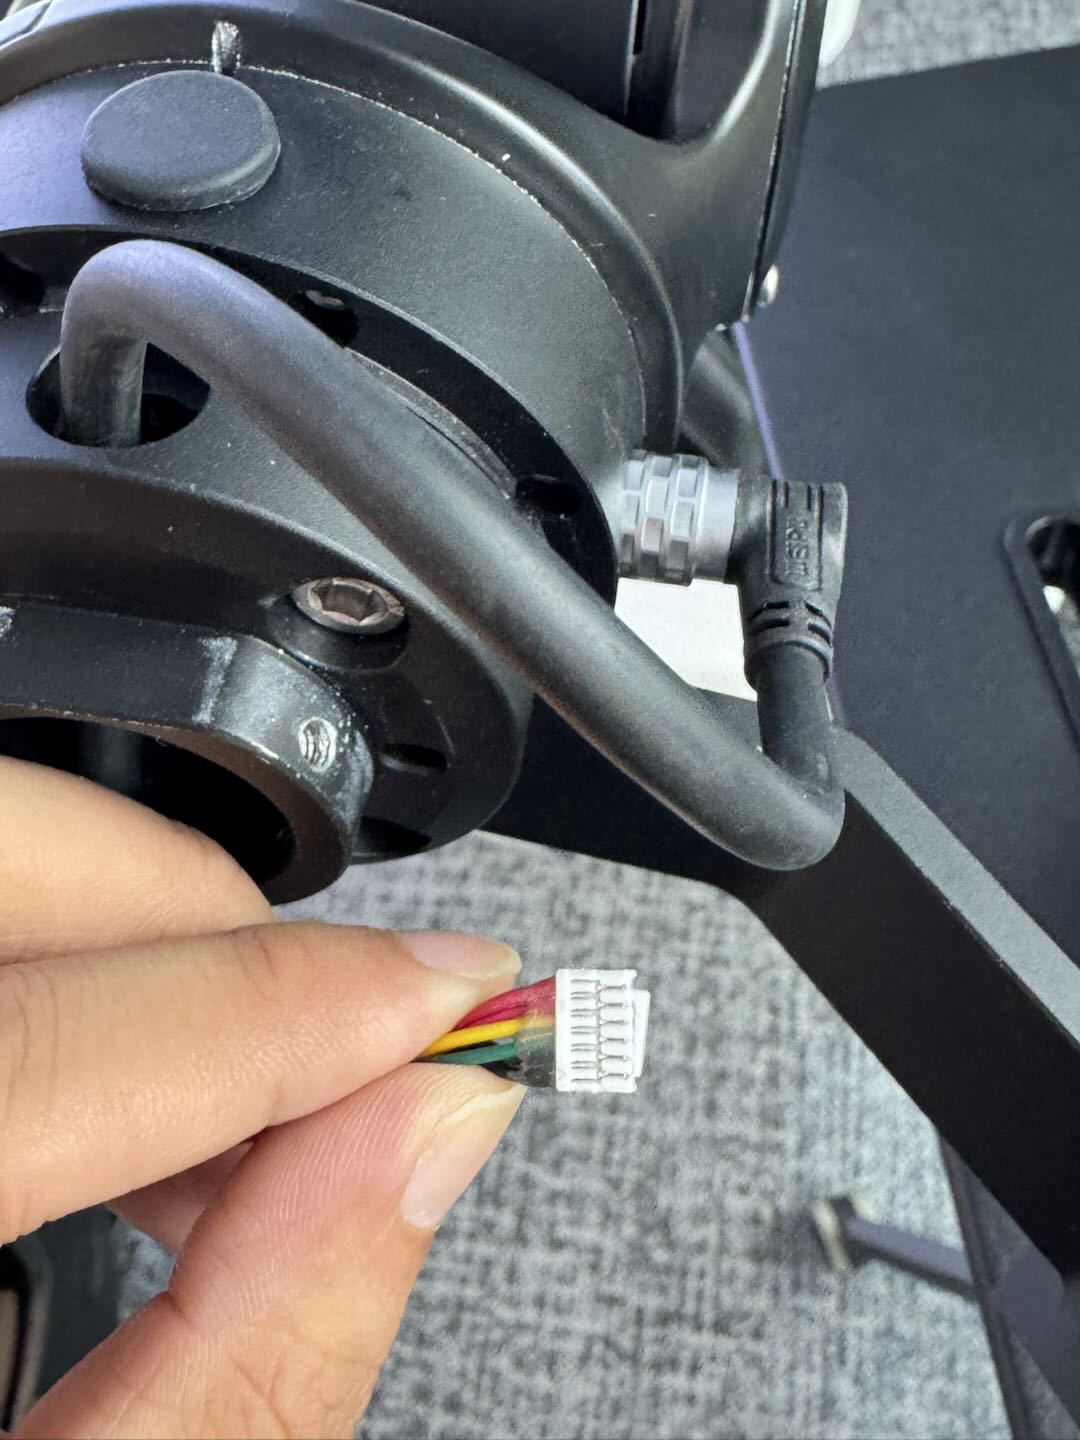
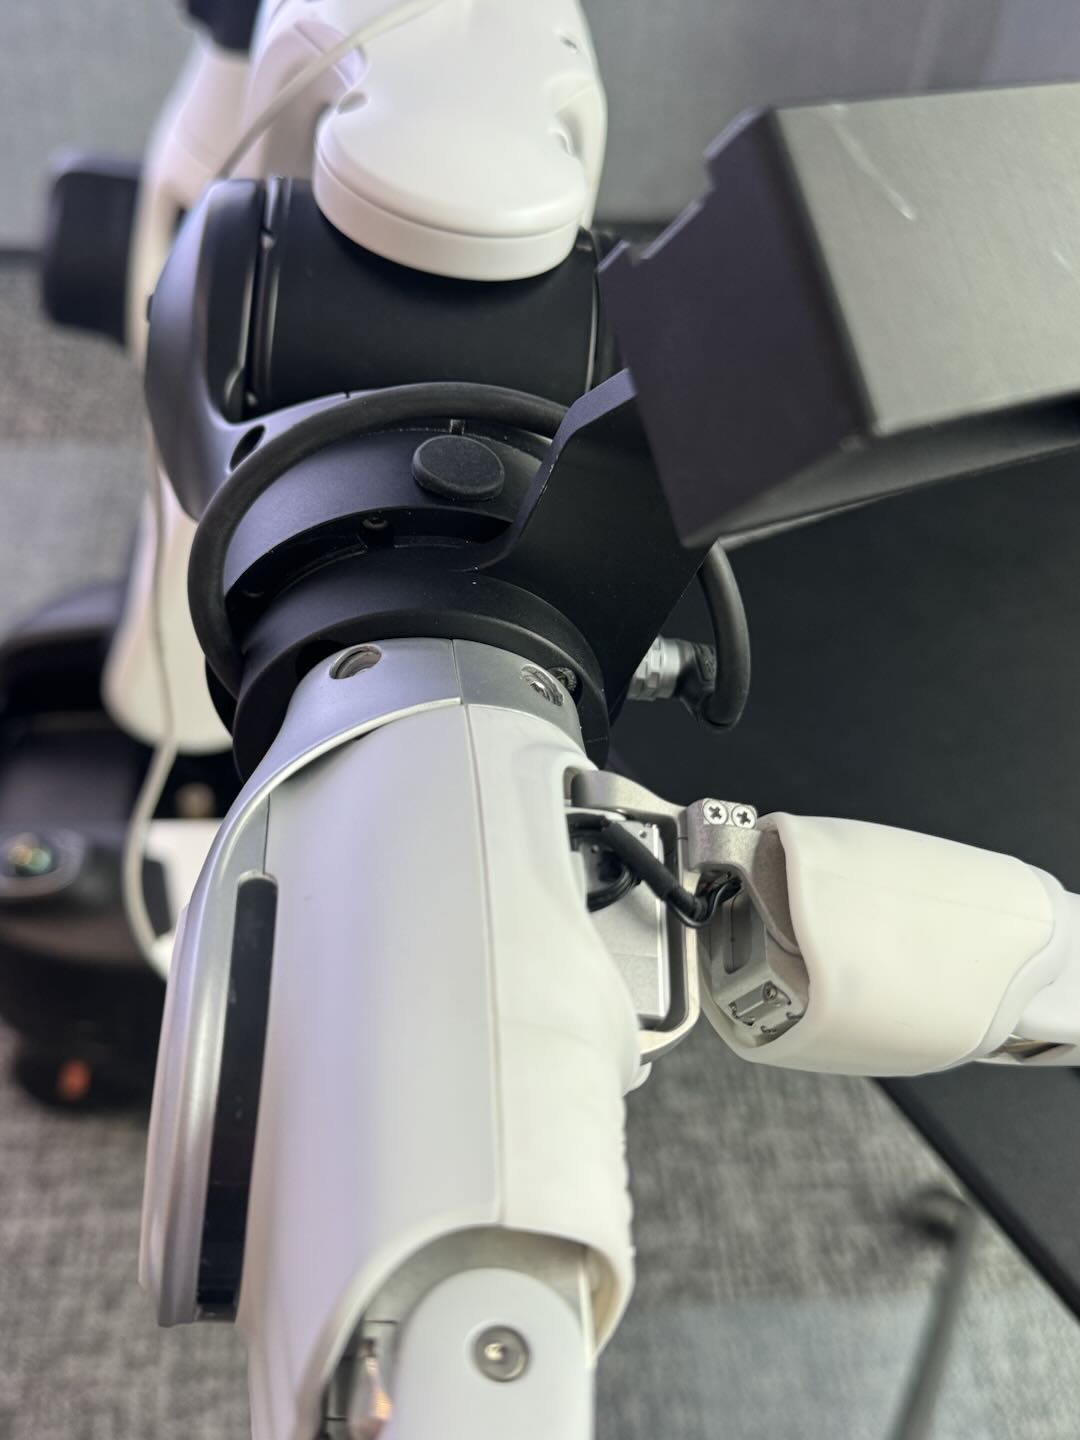
To estabilish the communication with the end effector, we need the designed new cables and new flange to fit the new end effector.
Here, for example, replace to the Omnihand:
After booting, the system will detect if it is omnihand or omnipicker or other supported end effector.
Read Next
Products
Teleoperation Connection